How to Inspect a Used Car Like a Professional Before You Sign the Paperwork
Don't get stuck with a lemon. Most used car buyers miss crucial red flags that can lead to $3,000 to $8,000 in hidden repairs. Learn the pro inspection steps and vital paperwork checks to save thousands before you sign.
Don't Get Stuck with a Lemon: Why a Pro-Level Used Car Inspection Matters
Buying a used car in 2026 can be smart, offering significant savings over a new model. But it also comes with risks. Hidden problems can turn a great deal into a money pit, costing you thousands in unexpected repairs and higher insurance premiums.
Imagine paying $3,000 to $8,000 for fixes you didn't see coming. This guide walks you through the same detailed inspection steps a professional technician uses. You’ll learn exactly what to look for, what questions to ask, and how to protect your investment before you even touch the pen.
The Real Cost of Skipping an Inspection
Many buyers skip a thorough inspection, either out of excitement or to save a little cash upfront. But this shortcut often leads to bigger bills down the road.
A pre-purchase inspection (PPI) from an independent mechanic typically costs around $100 to $200. This small fee is a tiny fraction of what a major repair, like a transmission replacement or engine overhaul, might cost – often upwards of $4,000 to $7,000.
Beyond repairs, hidden damage can also affect your auto insurance rates. Insurers might charge more for vehicles with a history of accidents or undisclosed issues, seeing them as a higher risk. A comprehensive inspection helps you avoid these costly surprises and gives you leverage for negotiation.
Step 1: The Pre-Check – Researching the Car's Digital Footprint
Before you even see the car, start your inspection online. The vehicle identification number (VIN) is your best friend here. Ask the seller for it immediately.
Use the VIN to get a vehicle history report from services like Carfax or AutoCheck. These reports can reveal crucial details:
- Past accidents, often with damage severity
- Flood or fire damage history
- Odometer discrepancies (a major red flag for fraud)
- Service records and maintenance history
- Number of previous owners
- Open recalls
Cross-reference the report with the seller's description. If the report shows a major accident but the seller claims a clean history, that's a serious inconsistency. And remember, a 'clean' title doesn't always mean a perfect car; some damage might not have been reported to insurance.
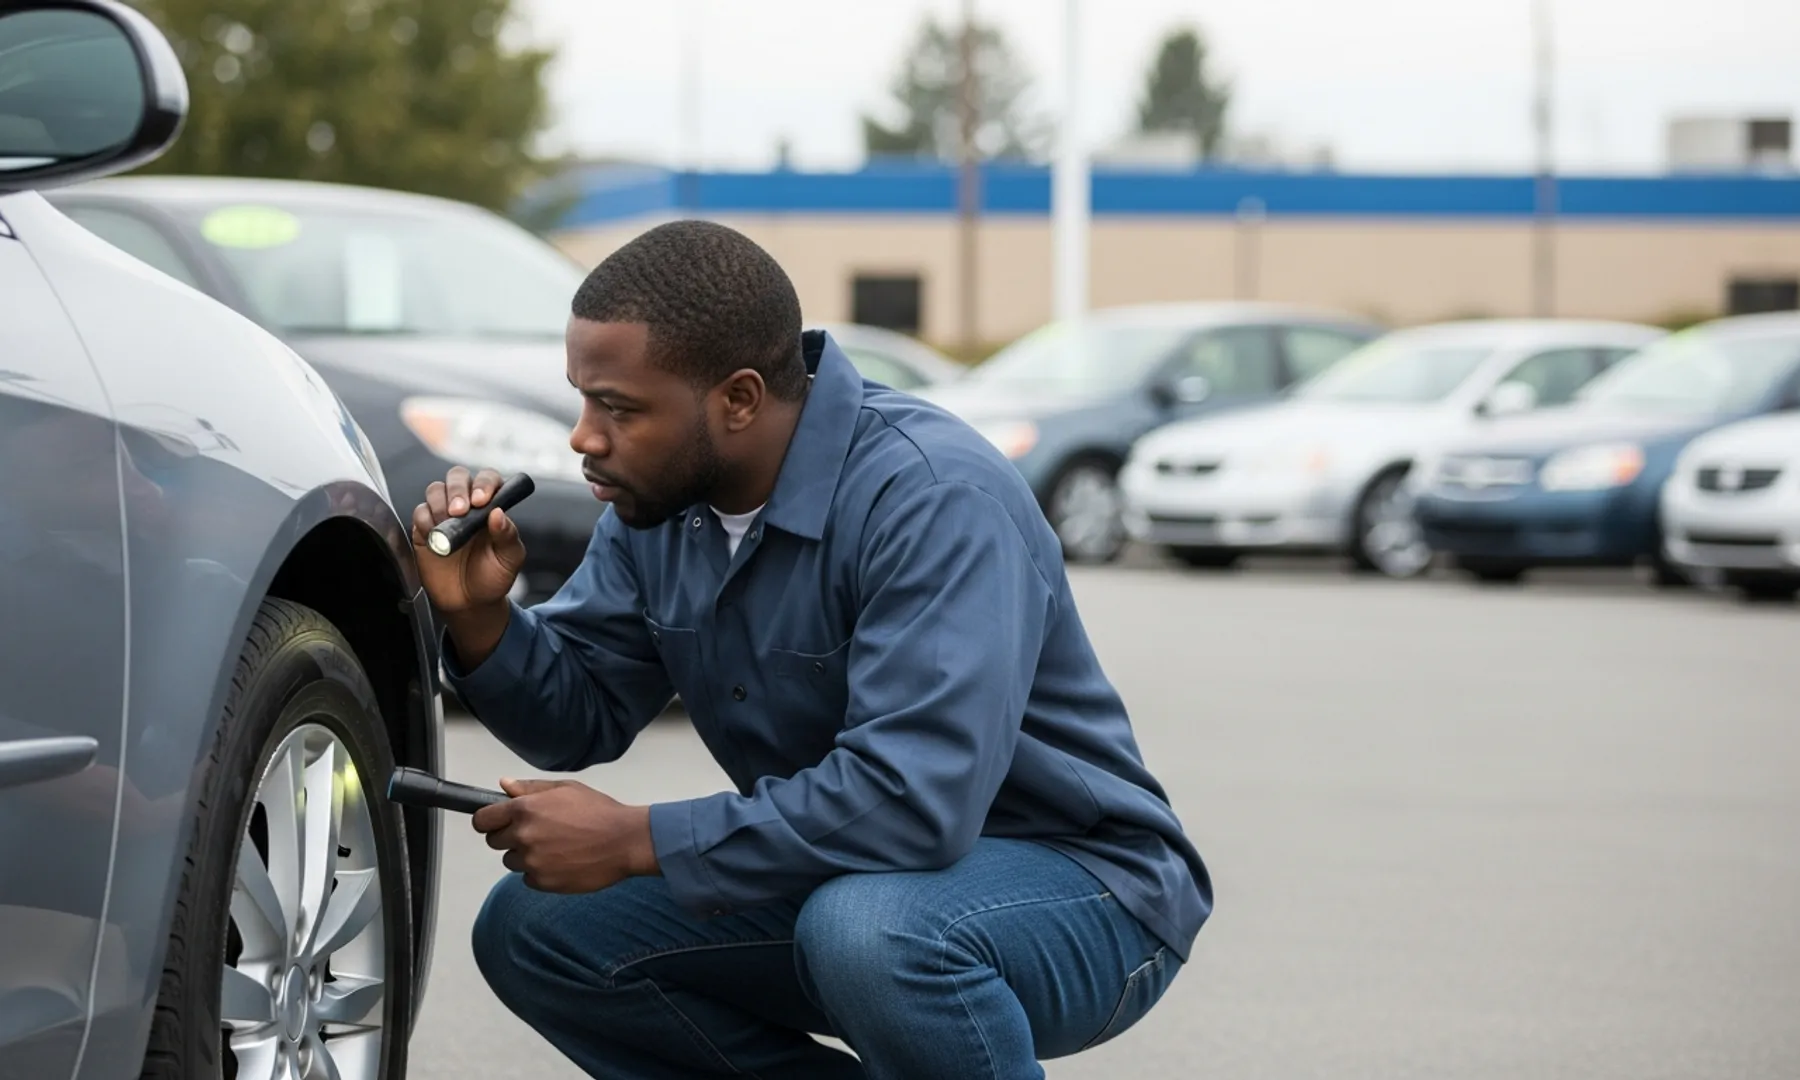
Step 2: The Exterior Walk-Around – Spotting Bodywork Secrets
Once you're face-to-face with the car, start your physical inspection from the outside. Look for signs of bodywork or past accidents.
- Panel Gaps and Paint: Check the gaps between body panels (doors, fenders, hood, trunk). They should be even and consistent. Inconsistent gaps or mismatched paint colors often signal repairs. Look for overspray on trim or rubber seals.
- Tires: Inspect all four tires, including the spare if accessible. Look for uneven wear, which can indicate alignment or suspension issues. Check the tire date code; tires older than six years likely need replacement, even with good tread.
- Glass and Lights: Scan for cracks or chips in the windshield and windows. Check that all headlights, taillights, turn signals, and brake lights are working. Replacement headlights that look too new compared to the rest of the car can suggest front-end damage.
- Rust: Pay close attention to wheel wells, rocker panels, and the lower edges of doors. Surface rust can be minor, but bubbling paint or large patches of rust can indicate significant structural problems, especially in states with harsh winters like Michigan or New York.
Step 3: Under the Hood – Engine and Fluid Check
Pop the hood and take a good look at the engine bay. It doesn't need to be spotless, but excessive dirt or oil can hide problems.
- Fluid Levels and Condition: Check the engine oil, coolant, brake fluid, and power steering fluid. They should be at appropriate levels and look clean, not murky or gritty. Burnt oil smell or milky coolant are serious warning signs.
- Leaks: Look for any drips or stains under the car or on engine components. A few drops of water from the AC is normal, but oil, coolant, or transmission fluid leaks are not.
- Belts and Hoses: Inspect all belts for cracks, fraying, or excessive wear. Hoses should be firm but pliable, not brittle or swollen. These are relatively inexpensive fixes, but if neglected, they can cause major breakdowns.
- Battery: Check for corrosion around the battery terminals. A newer battery might suggest the car had starting issues, especially if it's an older vehicle. Also, look for any signs of rodent damage to wiring.
Step 4: The Interior Deep Dive – Comfort and Electronics
The interior tells a story about how the car was cared for. Sit in the driver's seat and start the car.
- Warning Lights: All dashboard warning lights (check engine, ABS, airbag, oil pressure) should illuminate briefly when you turn the key, then turn off. If any stay on, or don't light up at all, it's a major red flag. Some sellers try to disable these lights.
- HVAC and Electronics: Test the air conditioning and heater on all fan speeds. Check the radio, power windows, power locks, mirrors, and seat adjustments. Make sure the navigation and infotainment system (if equipped) work correctly.
- Upholstery and Odors: Look for rips, tears, or excessive wear on seats, carpets, and headliner. Strong odors like cigarette smoke, mold, or pet smells can be difficult and expensive to remove. A sweet smell could indicate a coolant leak inside the cabin.
- Controls: Test the turn signals, wipers, horn, and all interior lights. Ensure the steering wheel has no excessive play and the pedals feel firm.
Step 5: The Test Drive – Listening for Trouble
This is your chance to feel how the car performs on the road. Drive it in various conditions – city streets, highway, and even some bumps if possible.
- Starting and Idling: The car should start easily and idle smoothly without excessive vibration or strange noises. Listen for any knocking, ticking, or squealing.
- Brakes: Test the brakes gently, then more firmly. The car should stop smoothly and in a straight line, without pulling to one side or pulsating. Listen for grinding or squealing sounds.
- Steering and Suspension: The steering should feel tight and responsive, not loose or vague. Listen for clunking or thumping noises over bumps, which can indicate worn suspension components. The car should track straight without constant correction.
- Transmission: Pay attention to how the car shifts gears. It should be smooth and predictable, without jerking, slipping, or delayed engagement. Test both automatic and manual modes if applicable.
- Acceleration: The car should accelerate smoothly and powerfully without hesitation. Listen for excessive engine noise or sputtering at higher RPMs. Take it to highway speeds to ensure it can maintain speed and feels stable.
Step 6: The Underbody Glance – What Lurks Beneath
If possible, get the car on a lift for a professional inspection. But even without one, you can do a quick check.
Crawl underneath (safely!) with a flashlight. Look for excessive rust on the frame, exhaust system, and suspension components. Fresh undercoating in an older car might be a sign someone is trying to hide rust or damage.
Check for any signs of fluid leaks. Inspect the exhaust system for holes or excessive corrosion. This quick glance can reveal problems that are invisible from above, potentially saving you thousands in future repairs.
Common Used Car Red Flags and Estimated Repair Costs
Spotting these issues during your inspection can help you negotiate a better price or decide to walk away. Here's what to watch for and what they might cost you in 2026 dollars:
| Red Flag | Potential Issue | Estimated Repair Cost (USD) |
|---|---|---|
| Uneven Tire Wear | Alignment, suspension, or steering problems | $150 - $1,500 |
| Check Engine Light | Engine, emissions, sensor issues | $200 - $3,000+ |
| Milky Oil or Coolant | Head gasket failure, serious engine damage | $1,500 - $4,000+ |
| Transmission Slipping/Jerking | Worn transmission, fluid issues | $500 - $7,000+ |
| Excessive Frame Rust | Structural integrity compromised | $2,000 - $10,000+ |
| Brakes Grinding/Pulsating | Worn pads/rotors, caliper issues | $300 - $1,000+ (per axle) |
| Strong Musty Interior Smell | Water leaks, mold, flood damage | $500 - $2,500+ |
These are approximate costs and can vary significantly based on the car's make, model, age, and your location. Always get a specific quote from a trusted mechanic.
The Final Paperwork Check – Protecting Your Investment
Even after a perfect physical inspection, the deal isn't done until the paperwork is right. This step is crucial for protecting your legal and financial interests.
- Title (Certificate of Ownership): Ensure the seller's name matches the name on the title. Check for any liens listed on the title; if there's a lien, the seller must pay it off before transferring ownership. Always verify the VIN on the title matches the car's VIN.
- Bill of Sale: This document legally transfers ownership. It should include the car's VIN, make, model, year, sale price, and the names and signatures of both buyer and seller. Keep a copy for your records.
- Warranty Information: If the car is still under factory warranty or has an extended warranty, get all relevant documentation. Understand what is covered and for how long.
- Insurance Implications: Before you finalize the purchase, get an insurance quote for the specific used car. Your rates can change based on the vehicle's age, safety features, repair costs, and accident history. Companies like State Farm, Geico, or Progressive can give you a quick estimate. You'll need to have coverage in place before you drive it off the lot.
Making Your Decision and Sealing the Deal
With your thorough inspection complete, you're armed with valuable information. If you found minor issues, use them to negotiate the price. For example, if the car needs new tires, you might ask for $600 to $1,000 off the asking price.
If the inspection revealed major red flags like extensive rust, engine problems, or undisclosed accident damage, it's often best to walk away. There are always other used cars available in your local market, whether you're in Dallas or Seattle.
Once you're satisfied with the car and the price, complete the paperwork carefully. Don't forget to transfer the title at your local DMV and secure your auto insurance. This professional approach ensures you drive away with confidence, not costly surprises.